
With ever-evolving monetary mechanisms, payment methods have been made convenient. In Pakistan, you can discover several payment methods, and EasyPaisa Payment Gateway is just one of them. Conventionally, EasyPaisa payment has made online transactions quite efficient and straightforward.
Besides, this one-of-a-kind payment method has made online transactions of money and cash transfers among different people very easy.
However, the efficient system of online banking has made online shopping oversimplified as not everybody holds a debit/credit card or PayPal account in Pakistan. At last, the only choice is the cash on delivery or the EasyPaisa Woocommerce Payment Gateway in this scenario.
E-Commerce & Payment Methods
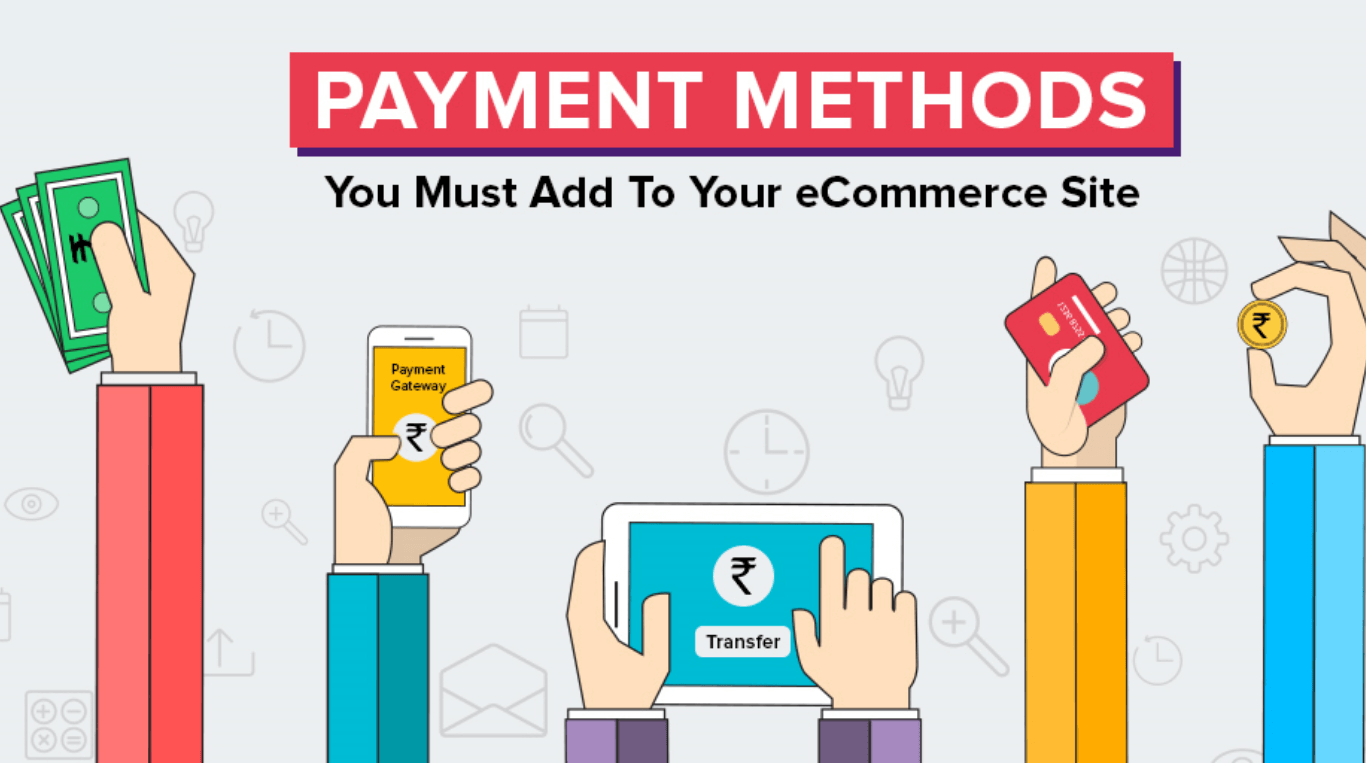
More recently, many online and e-commerce stores opted to integrate the EasyPaisa plugin in their WordPress store to make the purchase pleasant and convenient for the end-users. As a result, online businesses have seen massive growth in their sales and business ultimately.
In this article, we will discuss all aspects of EasyPaisa Payment Gateway with a particular reference to WordPress. So, let’s get the ball rolling!
Watch this video and enjoy growth in clients and growth in sales conveniently!
What is the EasyPaisa Payment Method?
Gone are those days when everyone preferred payments in cash or had to visit a bank to make online payments. On the other hand, you can make payments with just one click from the comfort of your home. Fortunately, EasyPaisa payment has revolutionized transactions in Pakistan. So, you can send and receive money to another user instantly.
Access to financial services and microfinancing overhauled mobile banking entirely in Pakistan. On the other hand, the mobile banking system made online shopping hassle-free and efficient by ensuring transparency.
However, a joint venture of Telenor Pakistan and Tameer Microfinance Finance Bank (TMFB) led to the landmark finance project of EasyPaisa in 2009. Soon, this project was appreciated by the general public, particularly by the business owners.
As a result, the State Bank of Pakistan (SBP)and EasyPaisa saw immense growth in online Payment via this channel and extended their services for Ecommerce by providing efficient payment solutions.
What is the EasyPaisa WordPress Payment Method?
In recent years, online shopping has become a norm for shopaholics. Moreover, you can discover various online stores’ options for various products and services. In other words, you don’t need to import your product and wait for it for months as you can find them with just a few clicks.
For this, these online stores use some Content Management Systems (CMS) to create their blogs and develop their online e-commerce stores. However, WordPress is the most interactive and easy-to-use content management system designed until now due to its wide range of templates, themes, and plugins.
WordPress Payment Methods Integration
Once you develop your online store, your business requires you to integrate a payment method into your online store to make a final purchase. However, some people have no idea how to add a Woocommerce payment gateway into your virtual store.
That is to say, WordPress offers many payment methods via your credit/debit cards and PayPal. Unfortunately, many people don’t have access to the banking system in Pakistan. Moreover, PayPal in Pakistan is not acceptable for making payments worldwide.
Fortunately, Pakistanis have access to EasyPaisa payment, a tool for making online payments and for online mobile banking. The good news is WordPress also supports EasyPaisa payment integration for receiving payments from Pakistani users.
How To Install EasyPaisa WordPress Plugin?
Installing the EasyPaisa WordPress plugin is very easy, and you can install it by following a few simple steps. For this, you’re not required to achieve any tech knowledge or coding as you can download it without any special skills.
Two methods are used mainly by WordPress users for integrating EasyPaisa Payment Gateway. Firstly, you can download it from GitHub. Secondly, you can download it from WordPress plugins using the EasyPay plugin. So, let’s discuss them one by one.
1. EasyPaisa Plugin Github
Follow these straightforward steps, and your online shopping store is all set to receive payments from your customers.
1. Search “EasyPaisa WordPress Plugin” in Google.
2. Click on Github.com
3. Click on the green button of ‘CODE.”
4. Download it and upload it on WordPress.
2. Woocommerce EasyPaisa Plugin
Many people get confused while searching for the EasyPaisa plugin in WordPress. The most common mistake, however, is searching the plugin using the “EasyPaisa” word. That is to say, Woocommerce has slightly changed the name of this plugin and refers to it as “EASYPAY.” So, if you’re going to search for this particular payment method, look for WP EasyPay in WordPress.
1. Firstly, log in to your WordPress online store.
2. Go to WordPress Dashboard.
3. Click on the plugins and then on the ‘ADD NEW.’
4. Search for EASYPAY instead of EasyPaisa.
5. Click on WC EasyPay Pk plugin.
6. Activate the plugin by clicking on ‘Activate’.
7. Next, select Woocommerce from the dashboard sidebar.
8. Choose Settings.
9. On the New window, click on ‘Payment Method’.
10. Look for the EasyPay Plugin from the available list of plugins and click on the MANAGE button.
11. Configure the EasyPaisa plugin by enabling it.
12. Lastly, enter the Title, description, and order ID.
Hooray! You’re ready to receive your payments from your customers from anywhere through the EasyPaisa Plugin. However, you need to create a merchant account for Order ID. Therefore, let’s learn how to create a merchant account!
How To Create a Merchant Account?
Lastly, a merchant account is vital for accepting payments from customers and depositing them into your business account. Meanwhile, the businessmen are required to create an EasyPaisa merchant account to take payments directly.
1. Click on the following link:
https://easypaisa.easypaisa.com.pk/
2. A new window opens; click on the SIGN-UP button.
3. After verifying your merchant account, log in to your merchant account.
4. Fill in the personal details, i.e., your name, business name, contact details, CNIC, etc.
5. Add Business Details
6. Enter your payment methods
7. Online store details must be correct
8. Add Settlement Details like how you want to receive payments. EasyPaisa or Bank Account
9. Add Intergration Details
10. Review Form
11. Attach the credentials
12. Finally, submit the form
On the other hand, you can also click on the following ‘user guide’ for creating an EasyPaisa Merchant Account.
Congrats, you’re ready to receive online payments via the EasyPaisa Payment merchant account in WordPress or Woocommerce.
Conclusion
Finally, you can integrate EasyPaisa Payment Gateway into your online e-commerce store by following all the above steps. So, no hassle to go through the cumbersome legal and financial procedures to integrate any payment method into Woocommerce.